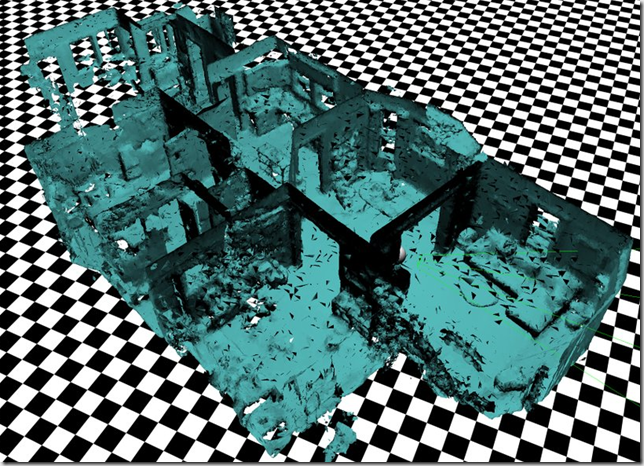
Spatial Mapping is probably one of the most important aspects of the HoloLens. It’s what it uses to know where it is in a room and how you can make holograms interact with the real world. It essentially scans your surroundings and builds a 3D model. Here’s an example of some of the mesh it has generated for a house:
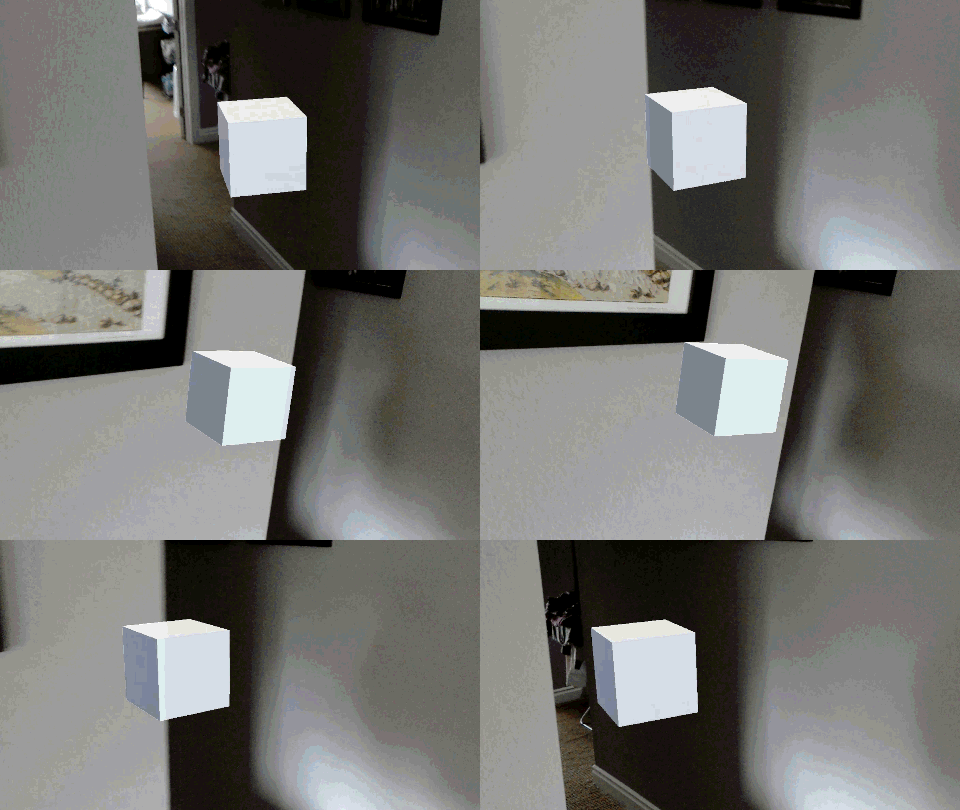
Now we can use this to avoid being able to see our holograms “through walls”. If we bring up the sample we build in the first blogpost, here’s what happens when the holograms goes behind a wall and ruins the illusion:
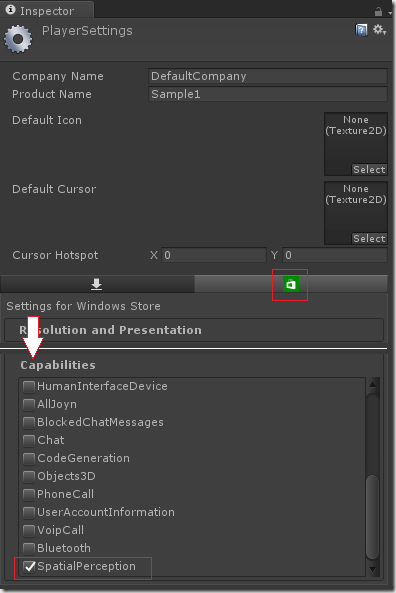
First enable SpatialPerception capability. In Unity go to Edit –> Project Settings –> Player, click the “Windows Store” tab, and check off the capability:
Note: If you already have generated a Visual Studio project, this checkbox doesn’t actually “work”. You can do two things: Either delete the generated app and regenerate it again, or go into Visual Studio, and manually edit the “Package.appxmanifest” in a text editor (the manifest designer doesn’t have this capability listed yet) by adding the following line to the manifest:
<uap2:Capability Name="spatialPerception" />

Next we’ll add the SpatialMapping component from the HoloToolkit. Make sure you’ve followed the steps from the previous blogpost to add the HoloToolkit to your project.
Select the object or collection you want to have spatial mapping occlude. In this case I’ll select the HologramCollection, so all children of this collection will get occluded. Click “Add Component” in the inspector and add the “Spatial Mapping Renderer”.
d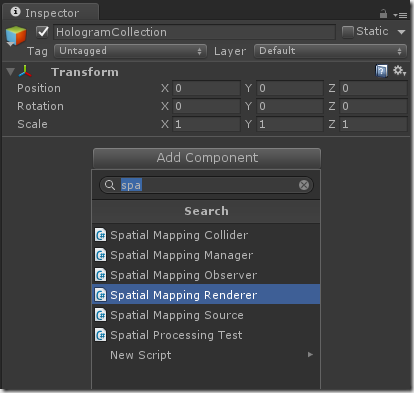
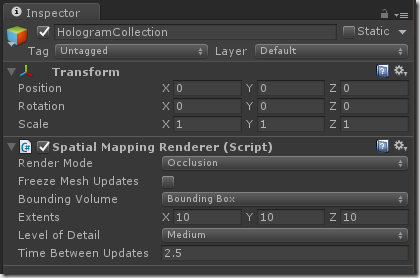
That’s it! Now save the scene, build your project again, and redeploy from Visual Studio.
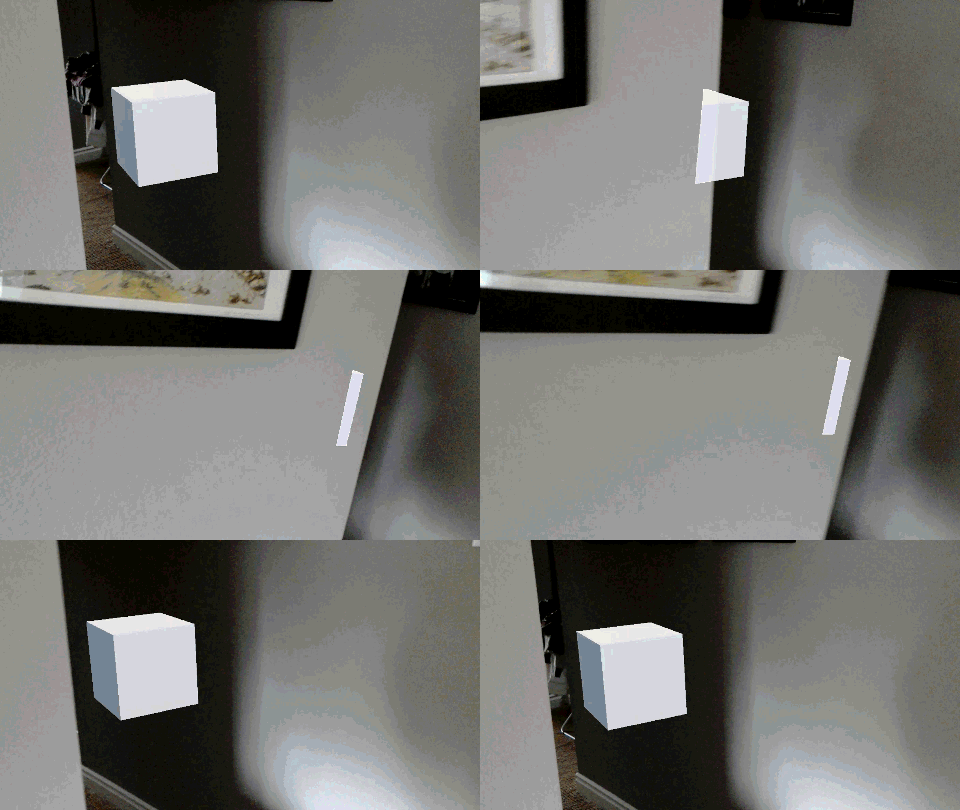
The clipping is a little bit off – this is because the mixed reality capture webcam is “off” compared to what you really see in the HoloLens and the mesh scan wasn’t too good on this corner.